SAR Booleroo Centre: Difference between revisions
From TrainzOnline
Jump to navigationJump to search
mNo edit summary |
mNo edit summary |
||
| Line 8: | Line 8: | ||
</tr> | </tr> | ||
<tr valign="top"> | <tr valign="top"> | ||
<td align="center">[[image:Tab_HM_White.png|link=]] [[image:Tab_IN_Grey.png|link=SAR_Booleroo_Centre_Industry]] [[image:Tab_TM_Grey.png|link=SAR_Booleroo_Centre_TrackMarks]] [[image: | <td align="center">[[image:Tab_HM_White.png|link=]] [[image:Tab_IN_Grey.png|link=SAR_Booleroo_Centre_Industry]] [[image:Tab_TM_Grey.png|link=SAR_Booleroo_Centre_TrackMarks]] [[image:Tab_SW_Grey.png|link=SAR_Booleroo_Centre_Switches]] [[image:Tab_Blank_Grey.png|link=]]</td> | ||
</tr> | </tr> | ||
<tr valign="top"> | <tr valign="top"> | ||
| Line 85: | Line 85: | ||
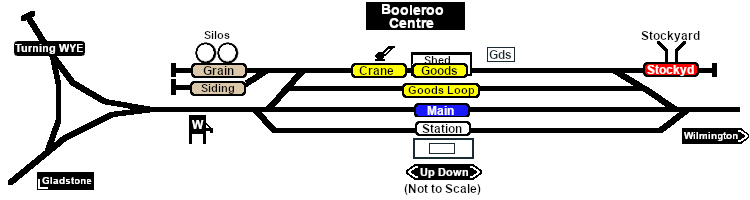
Station and goods loops, a stockyard siding, grain sidings, a loco watering facility and a turning WYE.<br> | Station and goods loops, a stockyard siding, grain sidings, a loco watering facility and a turning WYE.<br> | ||
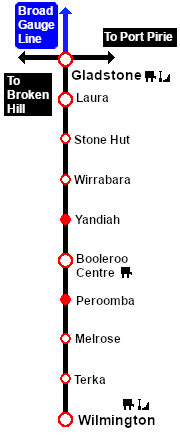
The '''Gladstone-Wilmington Line''' is '''unsignalled'''. Normally only a single train is permitted on the line at any one time.<br> | |||
'''Booleroo Centre''' was the terminus of the line from 1910 to 1915 which explains the presence of the turning WYE. | |||
</td> | </td> | ||
</tr> | </tr> | ||
Revision as of 10:12, 19 April 2021
|
|