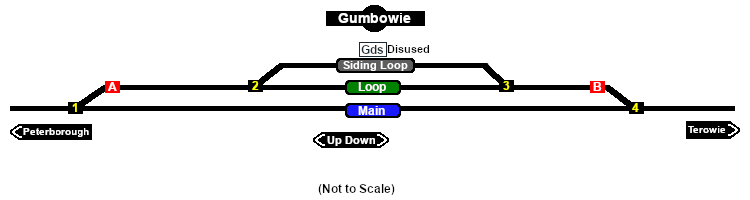
SAR Gumbowie Switches: Difference between revisions
From TrainzOnline
Jump to navigationJump to search
mNo edit summary |
m cleaned up switch sets alignment issue |
||
| Line 88: | Line 88: | ||
<td colspan=6> | <td colspan=6> | ||
<table width=750> <!-- BEGIN Switch | <table width=750> <!-- BEGIN Switch Sets table --> | ||
<tr valign="top"> | <tr valign="top"> | ||
| Line 100: | Line 100: | ||
</tr> | </tr> | ||
<tr valign="top"> | <tr valign="top"> | ||
| Line 114: | Line 111: | ||
</tr> | </tr> | ||
<tr valign="top"> | <tr valign="top"> | ||
| Line 128: | Line 122: | ||
</tr> | </tr> | ||
</table> <!-- END Switch Sets | </table> <!-- END Switch Sets table --> | ||
<tr valign="top"> | <tr valign="top"> | ||
Revision as of 06:48, 3 October 2021
|
 |
||||||||||||||||||||||||||||||||||||||||||||||||||||||||||||||||||||||||||||||||||||||