How to Use S20 Tools: Difference between revisions
| Line 943: | Line 943: | ||
<td width=20>[[image:DotPoint6.JPG|link=]]</td> | <td width=20>[[image:DotPoint6.JPG|link=]]</td> | ||
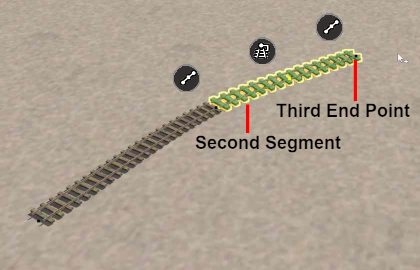
<td>Repeat '''Steps''' [[image:DotPoint4.JPG|link=]] and [[image:DotPoint5.JPG|link=]] above to continue laying the spline.</td> | <td>Repeat '''Steps''' [[image:DotPoint4.JPG|link=]] and [[image:DotPoint5.JPG|link=]] above to continue laying the spline.</td> | ||
</tr> | |||
</table> | |||
<br> | |||
<span style="font-weight: 700; font-size: 17px; color: white; background-color: blue;"> Spline Segment Heights </span><br> | |||
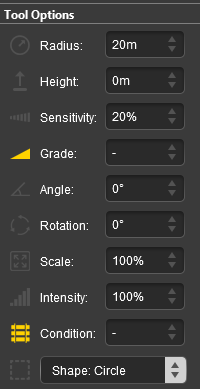
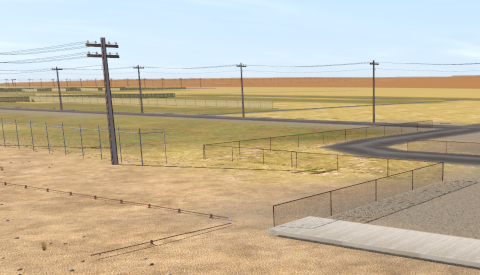
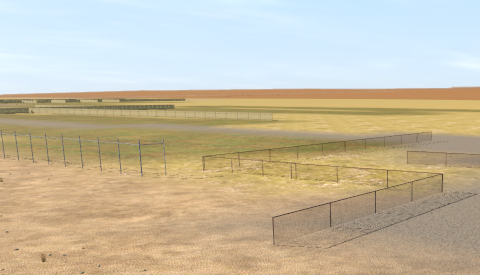
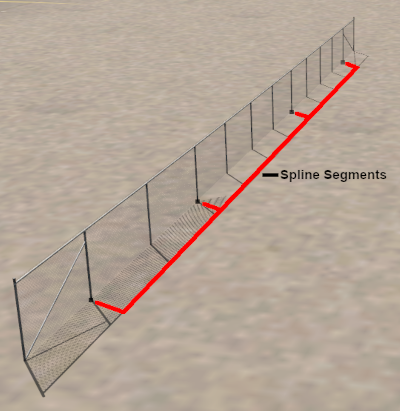
When you start adding a spline to a route it will always be placed at the height of the terrain regardless of the '''Tool Options''' <span style="font-weight: 700; font-size: 15px; color: white; background-color: black;"> Height </span> setting.<br> | |||
However, you can set the height of the last segment that was added and the following segments. | |||
<table> | |||
<tr valign="top"> | |||
<td width=20>[[image:DotPoint1.JPG|link=]]</td> | |||
<td>Lay the first spline segment which will be added at the terrain ground height</td> | |||
</tr> | |||
<tr valign="top"> | |||
<td width=20>[[image:DotPoint2.JPG|link=]]</td> | |||
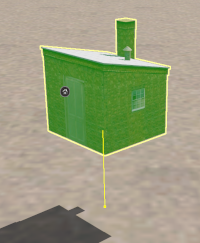
<td>Enter a value in the '''Tool Options''' <span style="font-weight: 700; font-size: 15px; color: white; background-color: black;"> Height </span> and press the <span style="font-weight: 700; font-size: 15px; color: white; background-color: black;"> Enter </span> key</td> | |||
</tr> | |||
<tr align="top"> | |||
<td colspan=2>The endpoints of the current spline segment will immediately be adjusted to the new height setting</td> | |||
</tr> | |||
<tr valign="top"> | |||
<td width=20>[[image:DotPoint3.JPG|link=]]</td> | |||
<td>Continue laying spline segments. Each new segment will be added at the new height</td> | |||
</tr> | </tr> | ||
</table> | </table> | ||
Revision as of 23:57, 11 January 2023
The information in this Wiki Page applies to Surveyor 2.0 (S20) as found in Trainz Plus.
This document is still being written
|
|||||||||

 |
 |
 |
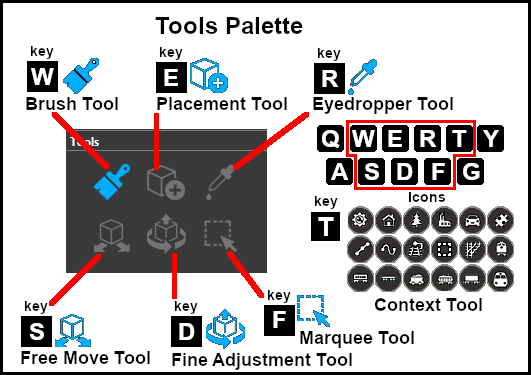
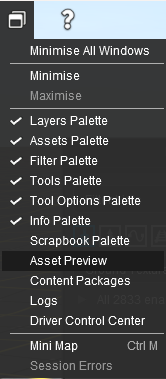
The Tools Palette
 |
|
|||||||||||||||||

The Brush Tool
The Brush Tool is used for painting the route. It can:-
When selected, the Brush Tool will show two drop down menu lists. |
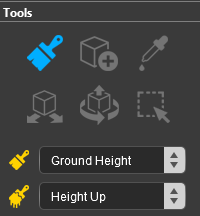 |

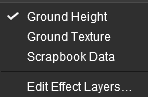
| The first drop down menu will set the Brush Target, the type of brush. The Targets are:- |
|||||
|
 |
|
|||
Ground Height
|

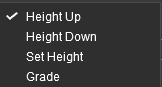
When the Ground Height Target is selected, the second drop down box will give a choice of several Ground Height tools.
| The choices are:- | |
|
 |
| The available brush tool options are shown in the Tool Options Palette with a Gold coloured icon next to their names. Those options that have their icon greyed out will be ignored, but they can still be edited. | ||||||||||||||||||||||||||||||||||||
Height Up/Height Down 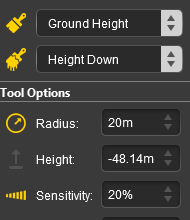 |
Set Height 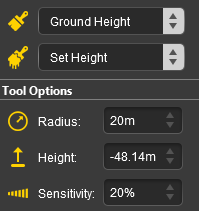 |
Grade 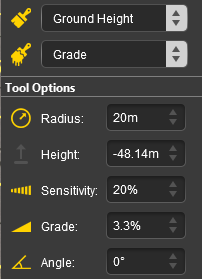 |
|
|||||||||||||||||||||||||||||||||
|
Ground Texture
|
When the Ground Texture Target is selected, the second drop down box will be disabled - there are no brush texture tool choices.
The available brush tool options are shown in the Tool Options Palette with a Gold coloured icon next to their names. Those options that have their icon greyed out will be ignored, but they can still be edited.
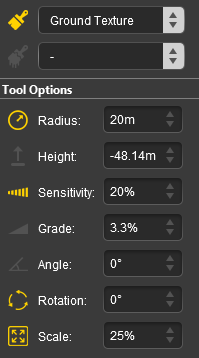 |
|
||||||||||||||||||||||||||||
|

Scrapbook Data
|

|
The Scrapbook Brush
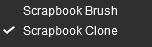
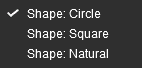
When the Scrapbook Data Target is selected, the second drop down box will give a choice of two Scrapbook Data tools.
| The choices are:- | |
|
 |
|
| The available brush tool options are shown in the Tool Options Palette with a Gold coloured icon next to their names. Those options that have their icon greyed out will be ignored, but they can still be edited. | |||||||||||||||||||||||||||||||
Scrapbook Brush 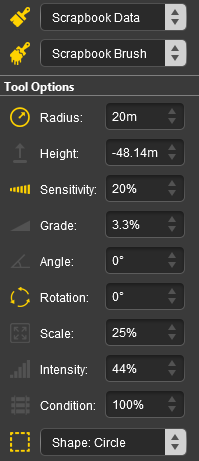 |
Scrapbook Clone 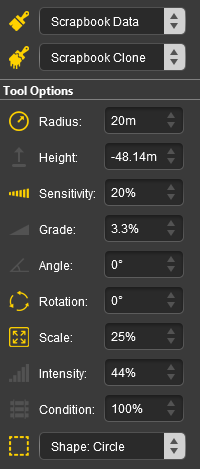 |
|
|||||||||||||||||||||||||||||
|
The Scrapbook Palette 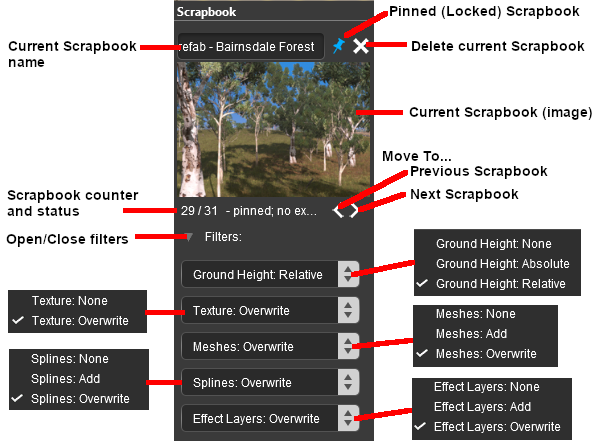 |
|
|||||||||||||||||||||||||||||||||||||||||||
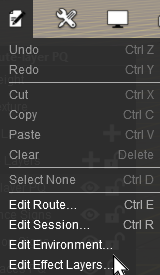
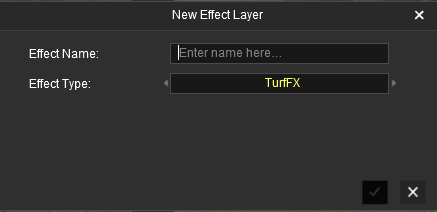
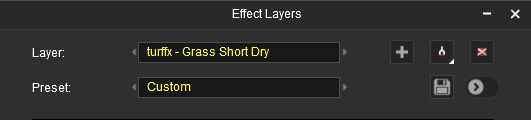
Edit Effect Layers...
When this Target is selected, the Edit Effect Layers options will appear. This is the same as selecting Edit Effect Layers ... from the Trainz Edit Menu.
 |
 |
 |
 |
More information on creating and editing Effect Layers can be found on the Trainz Wiki at:- |
|
 |
|
|
The Placement Tool
The Placement Tool is used to add objects to the route.
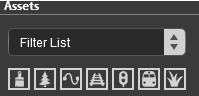
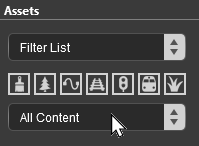
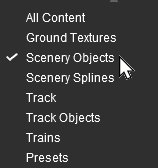
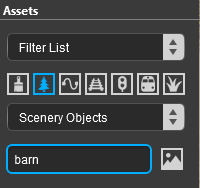
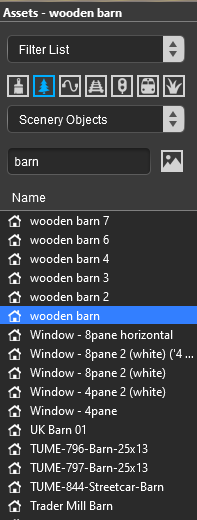
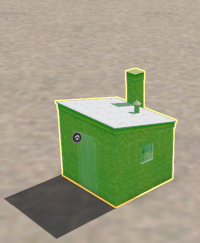
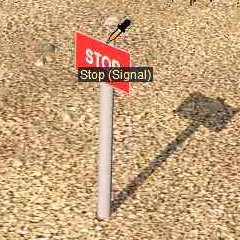
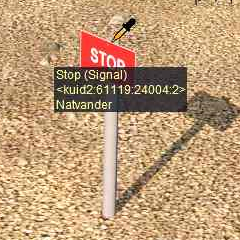
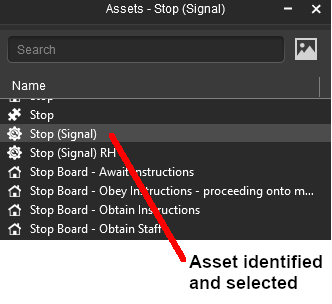
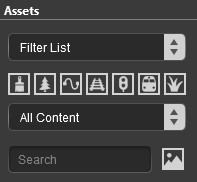
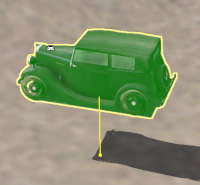
The first step is to identify and select the particular object that you want to add to the route. Placing a Scenery Mesh ObjectIndividual "non-spline" scenery objects that are not attached to track are often referred to in Trainz terminology as Scenery Mesh Objects.
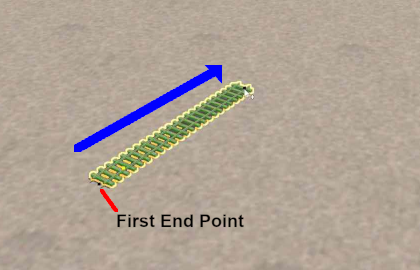
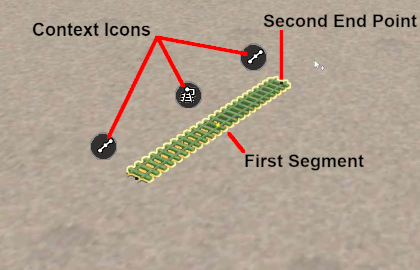
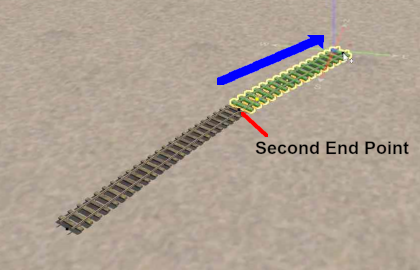
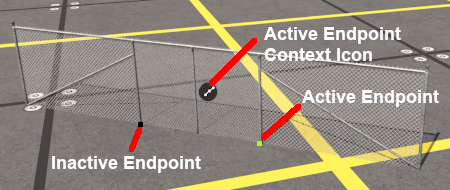
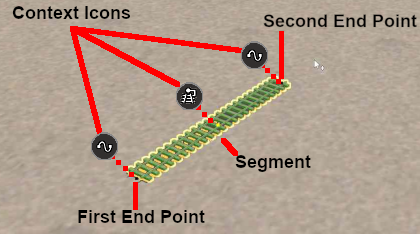
Placing a Scenery or Track SplineTo start the process of laying a track or spline, follow the steps listed above for placing a Scenery Mesh Object.
When you start adding a spline to a route it will always be placed at the height of the terrain regardless of the Tool Options Height setting. However, you can set the height of the last segment that was added and the following segments.
Placement Tool Options
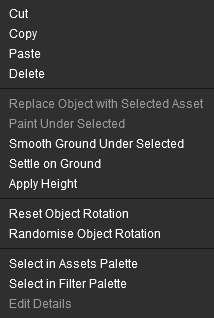
Deleting Placed Objects
The Eyedropper Tool
| ||||||||||||||||||||||||||||||||||||||||||||||||||||||||||||||||||||||||||||||||||||||||||||||||||||||||||||||||||||||||||||||||||||||||||||||||||||||||||||||||||||||||||||||||||||||||||||||||||||||||||||||||||||||||||||||||||||||||||||||||||||||||||||||||||||||||||||||||||||||||||||||||||||||||