SAR Gumbowie (Basic): Difference between revisions
From TrainzOnline
Jump to navigationJump to search
removed link to path map/info, reorganised switch sets |
mNo edit summary |
||
| Line 7: | Line 7: | ||
<!-- <td width=600> --> | <!-- <td width=600> --> | ||
<td width=750> | <td width=750> | ||
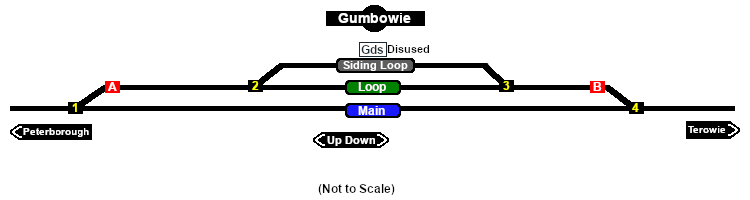
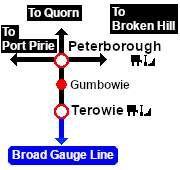
Passing and siding loops. Unmanned location on the <span style="font-weight: 700; color: white; background-color: black;"> Peterborough-Terowie Line </span>. The loop and siding were removed when the line was converted to broad gauge | Passing and siding loops. Unmanned location on the <span style="font-weight: 700; color: white; background-color: black;"> Peterborough-Terowie Line </span>. The loop and siding were removed when the line was converted to broad gauge in 1970. | ||
</td> | </td> | ||
<!-- <td width=150> | <!-- <td width=150> | ||
Revision as of 03:16, 7 October 2020
|
|
 |
||||||||||||||||||||||||||||||||||||||||||||||||||||||||||||||||||||||||||||||||||||||||||