SAR Nantabibbie Switches: Difference between revisions
From TrainzOnline
Jump to navigationJump to search
No edit summary |
mNo edit summary |
||
| Line 27: | Line 27: | ||
</table> <!-- BEGIN Location link table with LINE and STATION NAMES --> | </table> <!-- BEGIN Location link table with LINE and STATION NAMES --> | ||
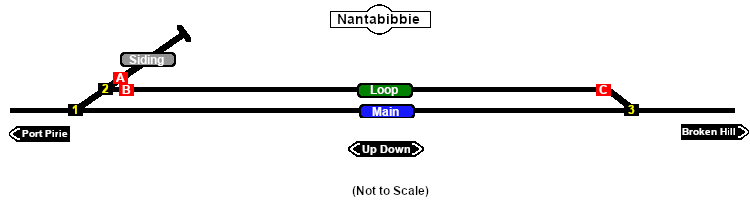
[[image:SAR_Nantabibbie_Basic.png|link= | [[image:SAR_Nantabibbie_Basic.png|link=|alt=Nantabibbie Switches map]] | ||
<table bgcolor="LightYellow" width=750> <!-- BEGIN Switches table --> | <table bgcolor="LightYellow" width=750> <!-- BEGIN Switches table --> | ||
Revision as of 20:30, 28 November 2020
|
 |
|||||||||||||||||||||||||||||||||||||||||||||||||||||||||||||||||||||||||||||||||||||