The information in this Wiki Page applies to TANE, TRS19 and Trainz Plus.
Driver Setup Rule
| Main Points: |
 |
The Driver Setup Rule assigns drivers to consists and issues them with Driver Commands. |
|
Driver Commands are lists of instructions or "orders" that drivers are tasked to complete under the control of the Trainz AI system. |
 |
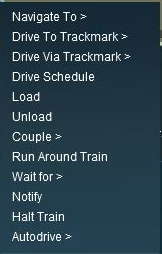
A list of available Driver Commands can be found on the Trainz Wiki Page at:-
|
The  Driver Setup Rule is automatically added to the Session Editor of every Session.
Adding New Drivers
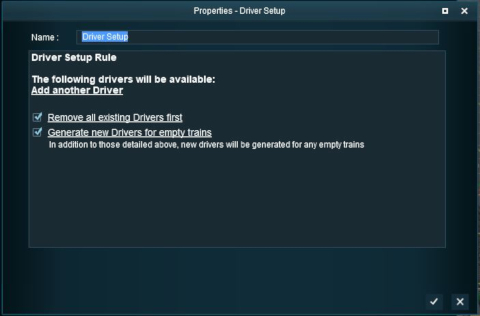
After selecting the Driver Setup Rule and clicking the Edit button, the Driver Setup Properties Window will be shown. The image below shows the properties window if it is opened with no locomotives placed in the layout.
 |
If your session uses a rule that will expect to find a particular driver in charge of a train (e.g. driver Charlie in the Trigger Check Rule) then manually assign Charlie as the driver of a train and do not select the option Remove all existing Drivers first. |

|
When using the Driver Setup Rule for the first time with no drivers assigned to existing trains, the Generate new Drivers for empty trains option will immediately assign drivers to each train. Each time a new train is added to the layout, it will be automatically assigned a driver. |
|
 |
Settings:
- If Checked
 randomly selected drivers will be assigned to all newly added driveable trains. Existing drivers will not be affected unless the Remove all existing Drivers first option has been selected.
- If Unchecked
 then you will have to manually assign drivers to trains by clicking the Add another Driver link
|
|
|
Adding a large number of drivers to the Driver Setup can cause Timeout errors particularly if certain driver script libraries are being used. Exactly how many is a "large number" will depend on other factors.
|
This issue has been FIXED in the latest beta versions of TRS19 SP1 and Trainz Plus |
 |
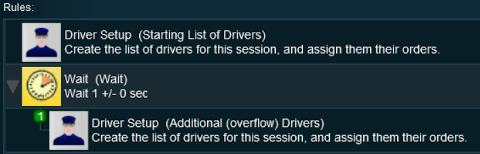
If Driver Setup Timeout errors are reported, then split the drivers between two copies of the Driver Setup Rule and place the second copy as a child of a Wait Rule set for a delay of just a few seconds, as shown on the right.
Information on how to use Parent and Child rules can be found at Parent and Child Rules |
 |
|
|
Editing the Driver List
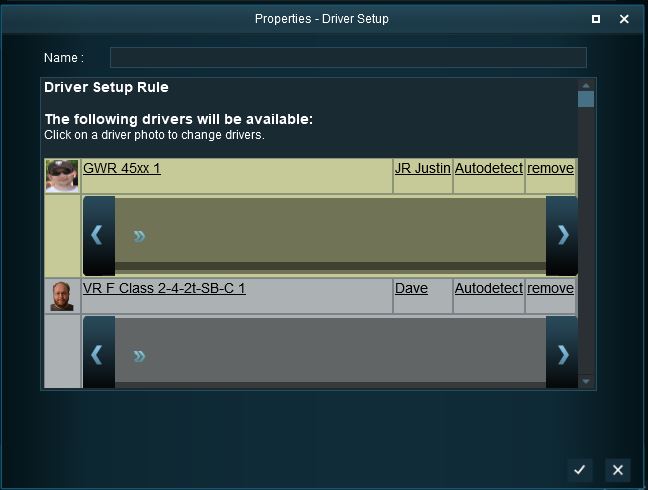
When drivers and trains have been added to the rule, it will appear as shown below.
Adding Driver Commands
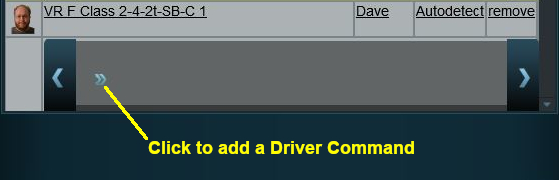
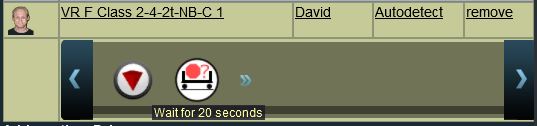
The grey area below the driver details (name, loco, owner) is the Driver Command Bar. This is where the driving instructions (the "train orders") used by the Trainz AI system are given to the driver.
 |
Notes:
When a driver command has been executed in Driver Mode by the Trainz AI system, it will be deleted from the Command Bar and the next command in the sequence will then be executed. This will continue until the last command has been executed and deleted. Then the AI control of the train will terminate. |
Deleting Driver Commands
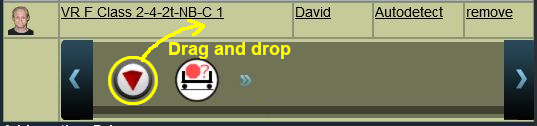
To remove a command from the Command Bar...
 |
|
 |
Steps:
- Click on the command and hold down the left mouse button
- Drag the command out of the Command Bar area
|
|
|
The "Repeat" Command
|
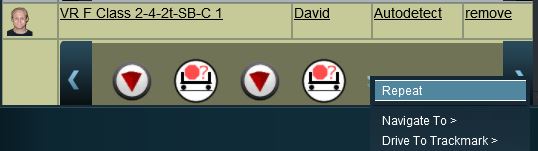
The "Repeat" command is a special built in command that allows all the driver commands to be repeated endlessly.
|
 |
|
The "Repeat" command is only available when at least one command is present in the Command Bar. Only one Repeat command can be added to a Command Bar.
|
|
|
Steps:
- Click the Add Command button on the Command Bar
- Select the Repeat option
|
|
|
 |
|
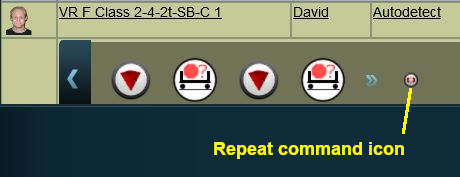
The Repeat icon will always be placed at the end of the Command Bar after the Add Command button.
|
|
Notes:
As each command is executed by the Trainz AI system, it will be deleted from the front of the command list and added to the end of the list to create an "endless loop" of commands. |
|
 |
|
Notes:
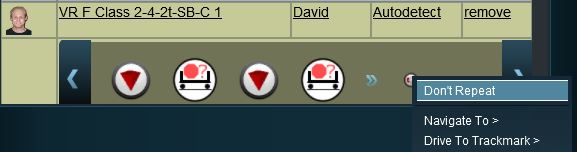
- If a Repeat command is already present, then the Add Command menu list will show Don't Repeat as its first option
- Select Don't Repeat to remove the Repeat command
|
|
 |
Known Issues:
If a Repeat command is present in the Command Bar and all the other commands are then deleted, the Repeat command will remain in the Command Bar and cannot be removed. Because there are no other commands to be repeated this will not cause a problem. However when later adding new commands the presence of the Repeat command can be easily overlooked.
 |
Workaround:
Add a command (any command) to the Command Bar. The Don't Repeat option will then become available and the Repeat command can be removed. |
|
|
Copying the Driver Setup Rule
|
The Driver Setup Rule (and other rules) can be copied between Sessions |
|
|
Steps:
- in the Session Editor right mouse click on the Driver Setup Rule
- select Copy from the popup menu
- exit the Session
- load the second Session (where the Rule is to be copied to) into Surveyor and open the Session Editor
- right mouse click after the last rule entry and select Paste
|
|
Driver Command Rule
| Main Points: |
|
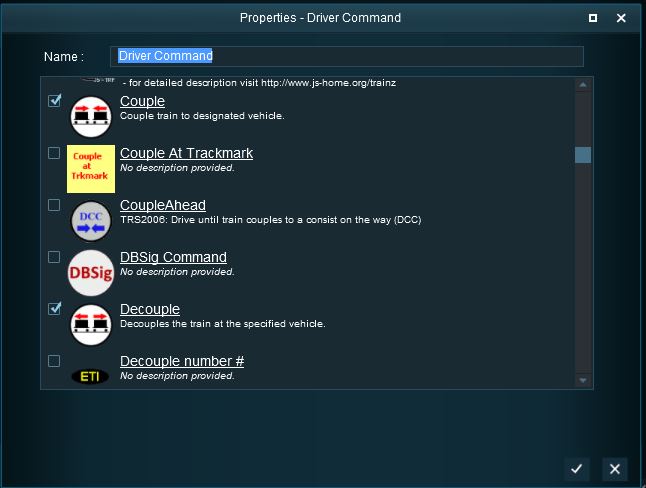
The Driver Command Rule controls which Driver Commands will be available in a Session. This applies to both:-
- Driver Commands added to the Driver Setup Rule in the Session Editor in Surveyor Mode, and
- Driver Commands for the user to manually add to the Command Bar of user and AI controlled trains running in Driver Mode.
|
|
Removing commands such as Navigate To will force players to manually drive trains when in Driver Mode instead of allowing them to use the Trainz AI system to do all the work. |
The Driver Command Rule is automatically added to the Session Editor of every Session.
The Rule properties window will open to show all the Driver Commands that have been installed in Trainz on your system. This list includes the commands that are built in and those that have been downloaded from the DLS.
Trainz Wiki
 |
More Tutorials and Guides to Using Trainz
|
This page was created by Trainz user pware in June 2018 and was last updated as shown below.